Wednesday, 7 November 2007

Finishing touches and a prototype


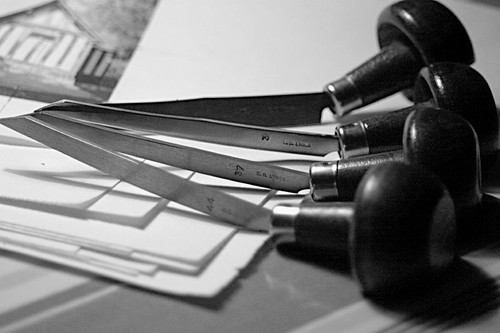
After letting the block sit on a shelf for a long time Jon has been busy adding some finishing touches to his wood engraving of St Winifred's Well (the Landmark Trust property that we stayed at in May), after a test print or two showed up some areas that needed more cutting.

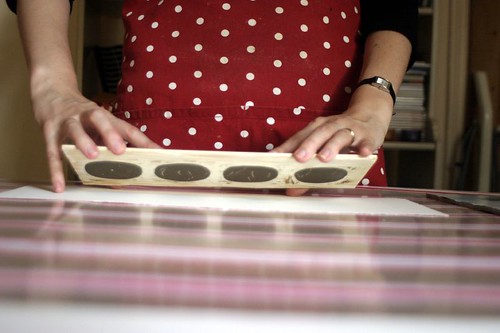
We're going to print the newly cut block tonight on the press...

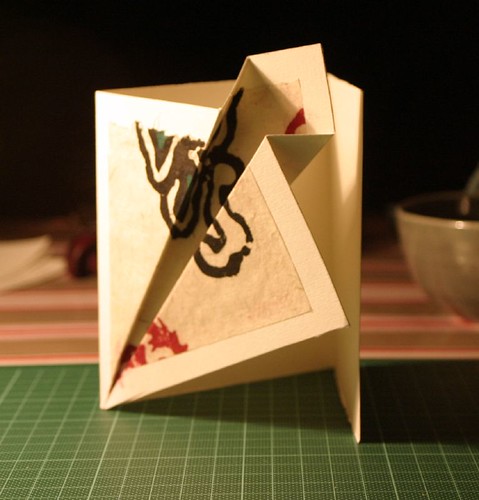
I have been busy making prototype wedding invitation cards using thin card and a square of thinner block printed paper. It took a couple of cards to get the folds quite right, but I'm really pleased with how they've turned out.

The final invitations are going to have a different patterned paper on them, and letterpressed text inside. Fingers crossed, they'll be ready to go out to our very small number guests at the end of next week... Hooray!

Tuesday, 23 October 2007

Tiny Little Cards

Inked Block

We have had a very busy few weeks, with not much time for printmaking, but this weekend we made time to make some tiny little notecards using this vintage printing block we bought in an auction several months ago.

We cut the full size prints from the block into small notecards - each one measures just 2.5 by 3.5 inches, and comes with a handmade envelope. Sets of five cards are available now in our Etsy shop.


Sunday, 7 October 2007

The Lapwing Printworks

After a major redesign and two days of coding by Jon our website has relaunched itself on the world as the Lapwing Printworks...

Click on the picture below to visit the new site -

Saturday, 6 October 2007

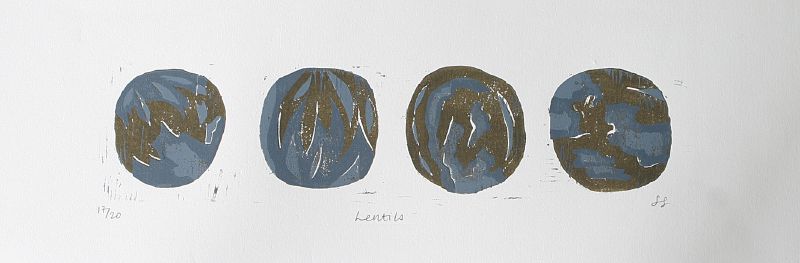
How closely have you ever looked at a lentil?

A new print of four green lentils (much larger than life size!).

Green lentils, on closer inspection, turn out to have a lovely pattern of dark green/brown with shades of dark slate grey and blue.


This is a three colour reduction woodcut - above is the first layer cut and ready for printing, below lining up the block during printing.


The finished print - availiable now in our Etsy shop!

Sunday, 16 September 2007

TLR Print


Four Prints, originally uploaded by spoonergregory.

Finished at last!

A four colour reduction woodcut of a classic twin-lens camera, printed in gradual stages over the summer (see posts below). We agonised over whether to go with 3 or 4 shades of grey, but we're pleased with how it finally turned out. This image was cobbled together in photoshop to show the four different background colours. We like blue and pink best at the moment, though green and orange aren't far behind!

Individual prints are available through our Etsy shop.

Sunday, 2 September 2007

Etsy Etsy Etsy!

Hooray! Our Etsy shop is finally up and running...

Click on the picture below to visit the Lapwing Printworks!

A Saturday Bread Adventure

We love making bread, and are always on the lookout for new things to try, so we thought we'd share a few of them on here.

Today - Pain a l'Ancienne (adapted from a Peter Reinhart recipe)

This one is slightly counter-intuitive if you're used to making normal bread. No laborious kneading and no leaving to rise in a warm place.

Ingredients:

14oz Strong White Bread Flour
1tsp Salt
1tsp Instant Yeast (we use Dove's Farm Quick Yeast)
10oz Ice Cold Water
Extra flour and semolina flour for dusting.

That's all.

1. Mixing - Chuck everything into a food processor with a metal blade attached. Pulse it until the dough forms a ball, then leave it to rest for 5 minutes. Then blitz for 45 seconds.


2. Lightly oil a large bowl and extricate the dough from the processor with a plastic spatula. The dough should be wet and sticky but not too sloppy.

3. Place the bowl in the fridge overnight.

4. First thing in the morning, take the bowl out of the fridge and allow the dough to come back to room temperature and start rising. Wait until it has doubled in size, which could take 2-4 hours.


5. Once the dough has doubled, pre-heat the oven to 250C, liberally flour the worktop and remove the dough from the bowl. A plastic spatula dipped in cold water helps here.

6. Stretch the dough into a rectangle about 7ins by 6ins. If its too sticky to manipulate sprinkle more flour over it. Don't be tempted to start kneading it, you want it to keep as much air as possible. Cut it into long pieces. We cut ours into three but you could do more if you want small baguettes. Allow it to rest for 5 minutes.


7. Prepare as many baking sheets as you need by putting a piece of siliconised baking parchment on each one and covering it with a layer of semolina flour.

8. After 5 minutes, transfer the bits of cut dough to the trays, carefully stretching out each one to the length of the tray. Spray them lightly with water and bung it in the hot oven.


9. Bake for 8 minutes, then turn them round if they are cooking unevenly. Another 8-10 minutes after this should finish them off.

10. Let the bread cool and then eat it!